
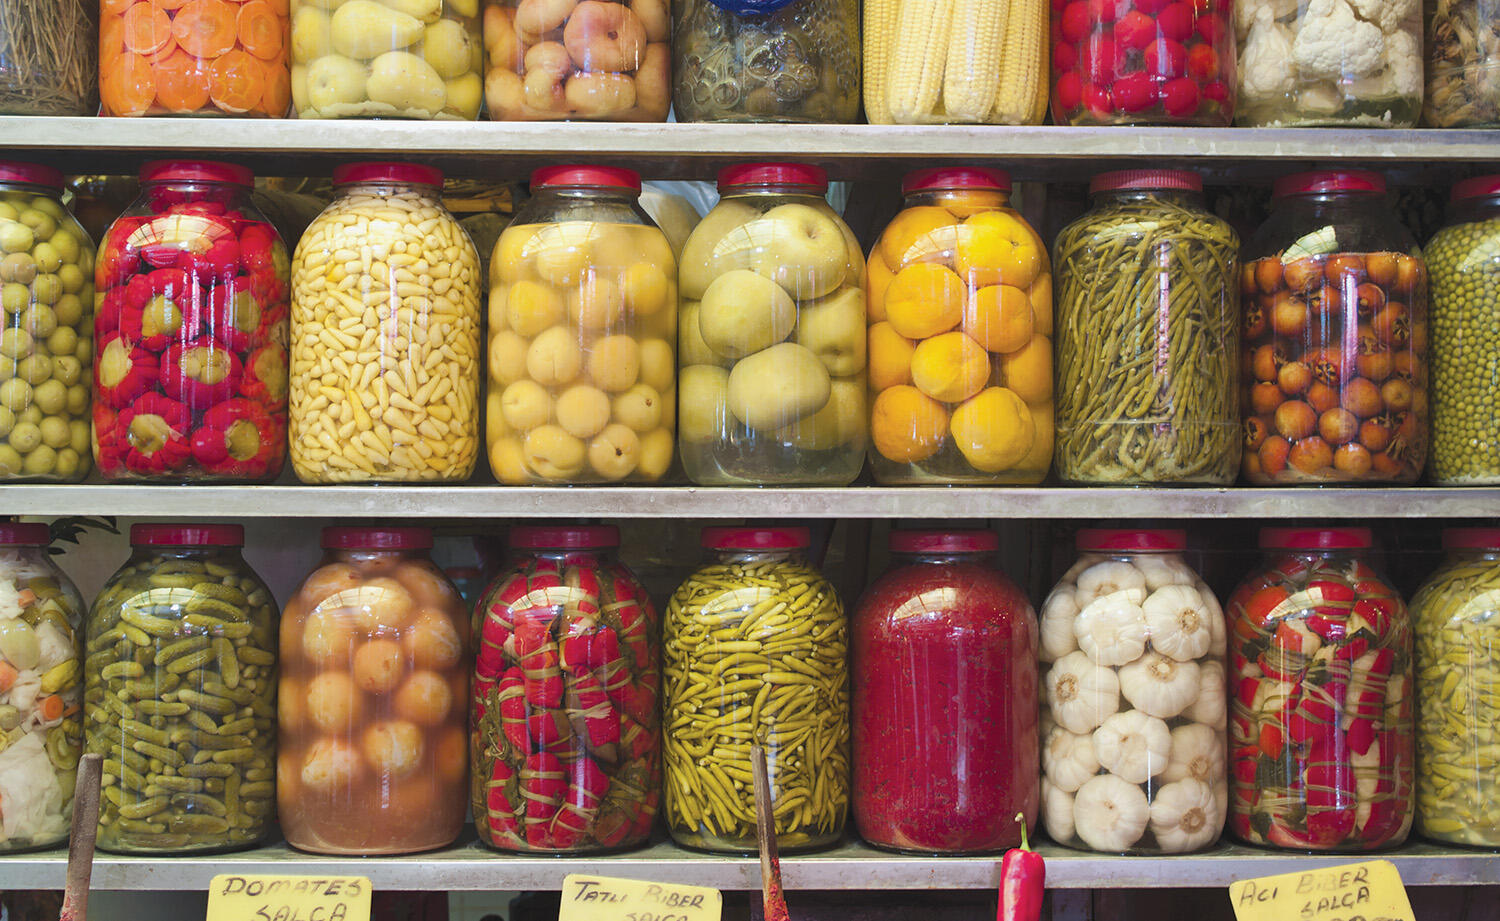
Canning Your Harvest
Seems like everyone is talking about canning their garden produce and veggie stand finds.
This week, we will explore some great canning options that you can enjoy now, and when pulling from the shelf in the middle of winter!
White Chicken Chili
Servings: 7-1 Liter or
4-Pint Jars
1 lb. great northern beans, pre-soaked overnight
12 C. chicken broth
2 lb. chicken breast, cooked and shredded
4 C. onions, diced
4 C. corn kernels
1-1/2 C. peppers, diced
4 cloves of garlic, minced
2 tsp. canning salt
1 tsp. black pepper, ground
1 T. cumin, ground
1 T. Mexican oregano
1 tsp. cayenne powder, optional
Prepare pressure canner, jars, and lids. Add a few inches of water to your canner, following the manufacturer’s recommendations, and place it over a low-heat burner with the jars inside, keeping them hot for this hot-pack process. The water should register 180°F.
Drain soaking water from the beans and add them to a large stockpot. Completely cover with fresh water and bring the pot to a boil. Once they boil, remove the pot from the heat and drain.
Add the beans to the stock pot with chicken, broth, peppers, corn, onions, garlic, and all the spices. This time, bring the pot to boiling over a high setting to start and reduce to a gentle boil. Continue at a gentle boil for five minutes longer.
Note: The beans and veggies won’t be completely cooked after this five-minute period, but don’t worry. The pressure canning process will finish them.
After the 5-min. boil time, remove the stockpot from the burner and carefully transfer the chili into the jars you’ve prepared and held in reserve. Make sure you add the same amount of solids into each jar and leave one inch of headspace for each jar, whether quart or pint.
Note: If your last jar is short on liquid, top it off with hot broth or boiling water.
Wipe each jar rim with a dampened cloth, situate lids in place, and tighten bands to finger-tight. Bands that are screwed on too tightly can cause lids to buckle. Then place the jars into your pressure canner.
Process the filled jars: For pint jars, process for 75 min. at 10 psi. For quart jars, process for 90 min. at 10 psi.
Once processing is complete, let the canner naturally depressurize before removing the jars to the counter for cooling. Allow them to cool for 12 hours or more, check the seals, and then they’ll be ready for storage.
To serve: boil chili in a pot over a medium burner for at least 10 min. Additions such as cream cheese or cream can be used to thicken the chili. Add them and stir until the cheese fully melts. Cilantro, chives, or green onions make a fresh, tasty garnish, and the dish is complemented best by tortillas, tortilla chips, or a nice Mexican cornbread.
Tomato Soup
Prep: 20 min.
Cook: 1hr.
Canning Time: 40 min.
Total: 2 hr.
14-16 lb. heirloom tomatoes, 42- 48 med.-sized tomatoes, or less with extra lg heirlooms
1 med. sweet bell pepper
1 med. onion
2 cloves garlic, minced
2 T. olive oil
1 T. sugar
1 T. salt
1 tsp. black pepper, ground
Citric acid or bottled lemon juice, for safe canning
Wash, core, and quarter your heirloom tomatoes. For a smooth soup, remove the skins and seeds later with a food mill.
Dice the bell pepper (discarding the stem, seeds, and membranes) and peel and chop the onion.
Heat the olive oil in a large stock pot or Dutch oven. Add the chopped onion and minced garlic, sautéing until the onions are translucent but not browned.
Add the prepared tomatoes, bell pepper, sugar, salt, and pepper to the pot. Bring everything to a boil, then lower the heat and let it simmer, uncovered, for about 30 min. You want the tomatoes to soften and the mixture to thicken slightly.
To remove the skins and seeds, use a food mill or food strainer. This will give you a smooth, velvety texture.
Once the soup is strained, return it to the pot and simmer for another 25 to 40 min.to thicken it further. The total time will depend on how watery your heirlooms were at the start. You’re going for soup thickness, so stop before you reach a tomato sauce consistency.
Fill a water bath canner and bring it to a gentle simmer before filling your jars.
Place the necessary amount of citric acid or lemon juice directly into each jar before filling. Do not skip this step; it’s essential for the safe water canning of this tomato soup recipe!
For pint jars: Add 1/4 tsp. citric acid or 1 T. lemon juice. For quart jars: Add 1/2 tsp. citric acid or 2 T. lemon juice.
Ladle the hot soup into your prepared jars, leaving about 1-inch of headspace at the top.
Apply the two-piece canning lids, screwing the rings on until they’re “finger tight.” Process the jars in a water bath canner for 40 min. for both pint and quart jars.
After the processing time is complete, carefully remove the jars from the canner and let them cool on a clean towel on the counter for 12 to 24 hours. Be sure to check the seals after cooling; unsealed jars should be refrigerated and used right away or reprocessed.
Note: The lemon juice or citric acid is added directly to each canning jar rather than into the soup pot. This ensures that each jar gets enough added acidity for safe water bath canning (and this can be extra helpful if your yield is slightly off, due to natural variation in heirloom tomatoes).
For pint jars: you’ll need 1/4 tsp. of citric acid or 1 T. of lemon juice. For quart jars: use 1/2 tsp. of citric acid or 2 T. of lemon juice.
Salsa
Prep: 25 min.
Cook: 5 min.
Canning Time: 15 min.
Total: 45 min.
10 C. plum tomatoes, seeded, cored, and coarsely chopped
2 C. peppers, chopped and seeded
1-1/2 C. chopped onions
1 C. fresh cilantro, chopped and loosely packed
1 C. cider vinegar
1 T. minced garlic
1 T. dried oregano
1 T. sugar
1 T. hot sauce, or 3 chipotles in adobo, seeded and minced
1-1/2 tsp. ground cumin
1-1/2 tsp. salt
Combine all ingredients in a stock pot or Dutch oven.
Bring the mixture to a boil, then simmer for 10 min. until slightly thickened.
Ladle the salsa into prepared jars, leaving 1/2 inch headspace.
Process the jars in a water bath canner for 15 min. for pints and half pints.
Gooseberry Jam
Prep: 30 min.
Cook: 20 min.
Canning time: 10 min.
Total: 1 hr.
3 C. gooseberries, roughly 1 lb.
1/4 C. water
2 C. sugar
1-2 T. lemon juice, optional
Clean the gooseberries by removing the tops and tails. This step may take some time, but it’s essential for the best results. (The stems and flower ends of gooseberries remain tough when cooked, and they’ll ruin the texture of your finished jam if not removed.)
Place the cleaned gooseberries in a pot with a small amount of water and a splash of lemon juice if desired.
Cook on medium-high heat, stirring often, until the berries disintegrate, approximately 5 min.
Incorporate sugar into the pot. Gooseberries are quite tart, so adjust the sweetness as needed.
Bring the mixture to a rapid boil and cook for 8 to 10 min. until it reaches the gel stage.
Pour the finished jam into prepared jars, leaving 1/4 inch of headspace.
Store the jam in the fridge or process the jars in a water bath canner for 10 min.
Pina Colada Jam
Servings: 4 Half Pints
3 C. crushed pineapple
1/2 C. orange juice
1/4 C. lime juice
1/2 C. coconut rum
2 C. sugar
3 T. flex-batch classic pectin
Mix pineapple, orange juice, lime juice, and coconut rum in large stockpot. Gradually stir in pectin.
Over high heat, bring to a boil that can’t be stirred down. Add sugar all at once. Stir to dissolve. Return to boil. Boil hard for one min.
Ladle into hot, sterilized jars with 1/4 inch headspace. Wipe rims. Add heated lid. Screw on ring, making it finger tight. Process in boiling water bath for 10 min.
Pineapple Mango Salsa
Prep: 10 min.
Cook: 10 min.
Canning Time: 15 min.
6 C. pineapple, peeled, cored, and diced
8 C. mango, diced
4 C. tomatoes, cored, seeded, and diced (not peeled)
2 C. red bell pepper, stemmed, seeded, and diced
1-1/2 C. red onion, finely diced
2 habanero peppers, seeded and diced
3 cloves garlic, minced
4 tsp. salt
1/4 C. bottled lime juice
1/2 C. white vinegar, 5% acidity
6 T. cilantro, finely chopped
In a large stock pot, combine all ingredients and bring to a boil. Reduce heat and simmer for 10 min.
Ladle salsa into prepared jars, leaving 1/2 inch headspace.
Process jars in a water bath canner for 15 min. for half-pints and pints. After processing, use a jar lifter to remove the jars to cool on a towel on the counter. Once completely cool, check seals and store any unsealed jars in the refrigerator for immediate use.
Properly sealed jars will maintain peak quality on the pantry shelf for 12-18 months. Refrigerate after opening.
Quote of the Week:
(Grandparents Day) “No spring, nor summer hath such grace. As I have seen in one autumnal face.”
~ John Donne

